Creating a sender is an important part of setting up your campaign. After following through the steps below, you will receive a verification email that you must complete before being able to activate any campaigns.
Step 1
1. Login to your dashboard as an Event Organizer.
2. Navigate to the left-hand side and click Management followed by Email campaigns.
3. Click the blue Senders tab
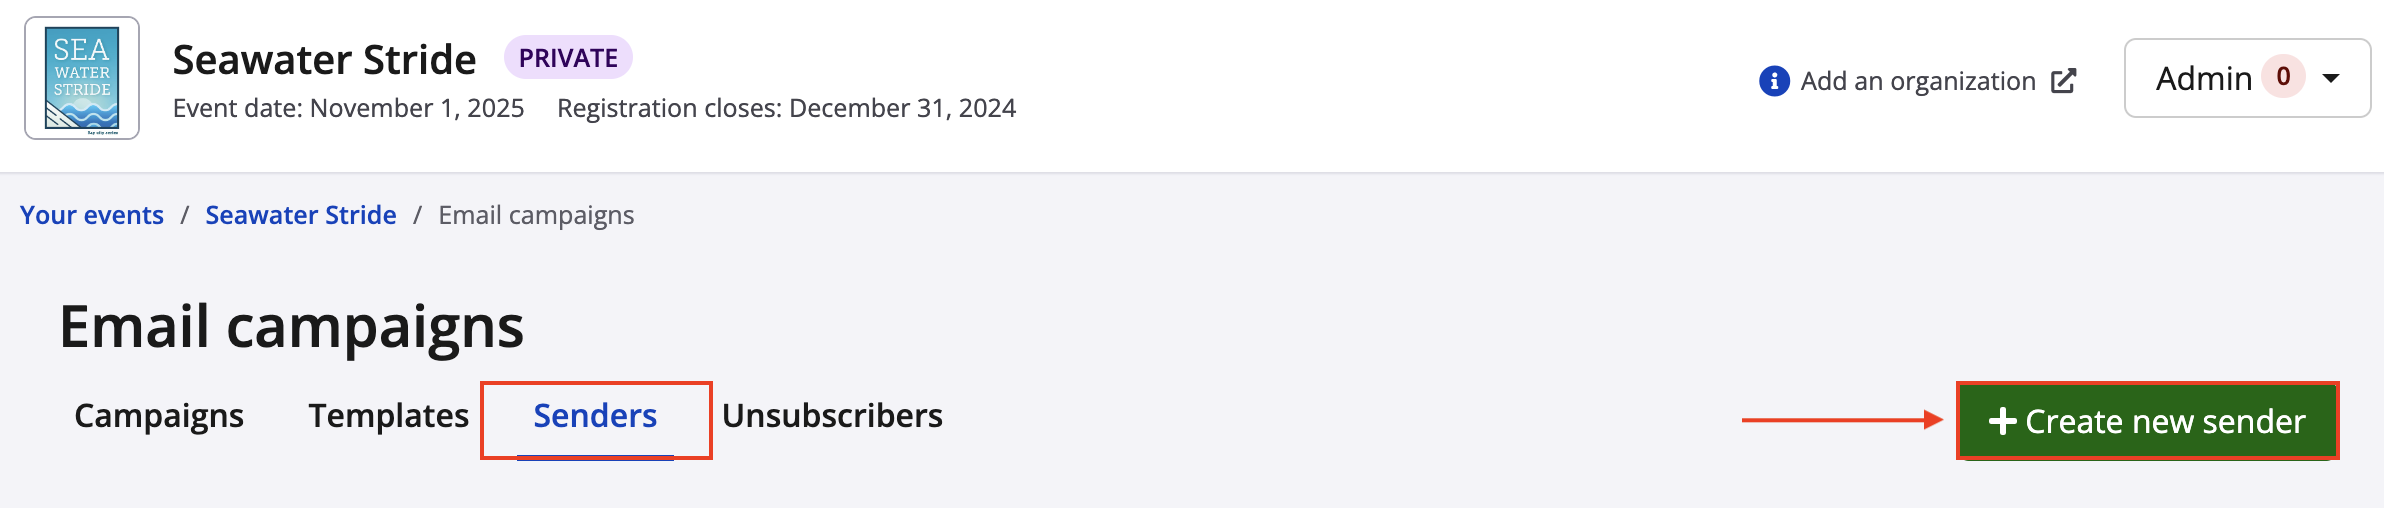
5. Click Create new sender
6. Fill out the form including:
- Name
- Email address
- Address
As you type in your address, it will begin to populate options. Select the correct address and verify the address details below. In the Address line 2, you are able to add an apartment number, etc.
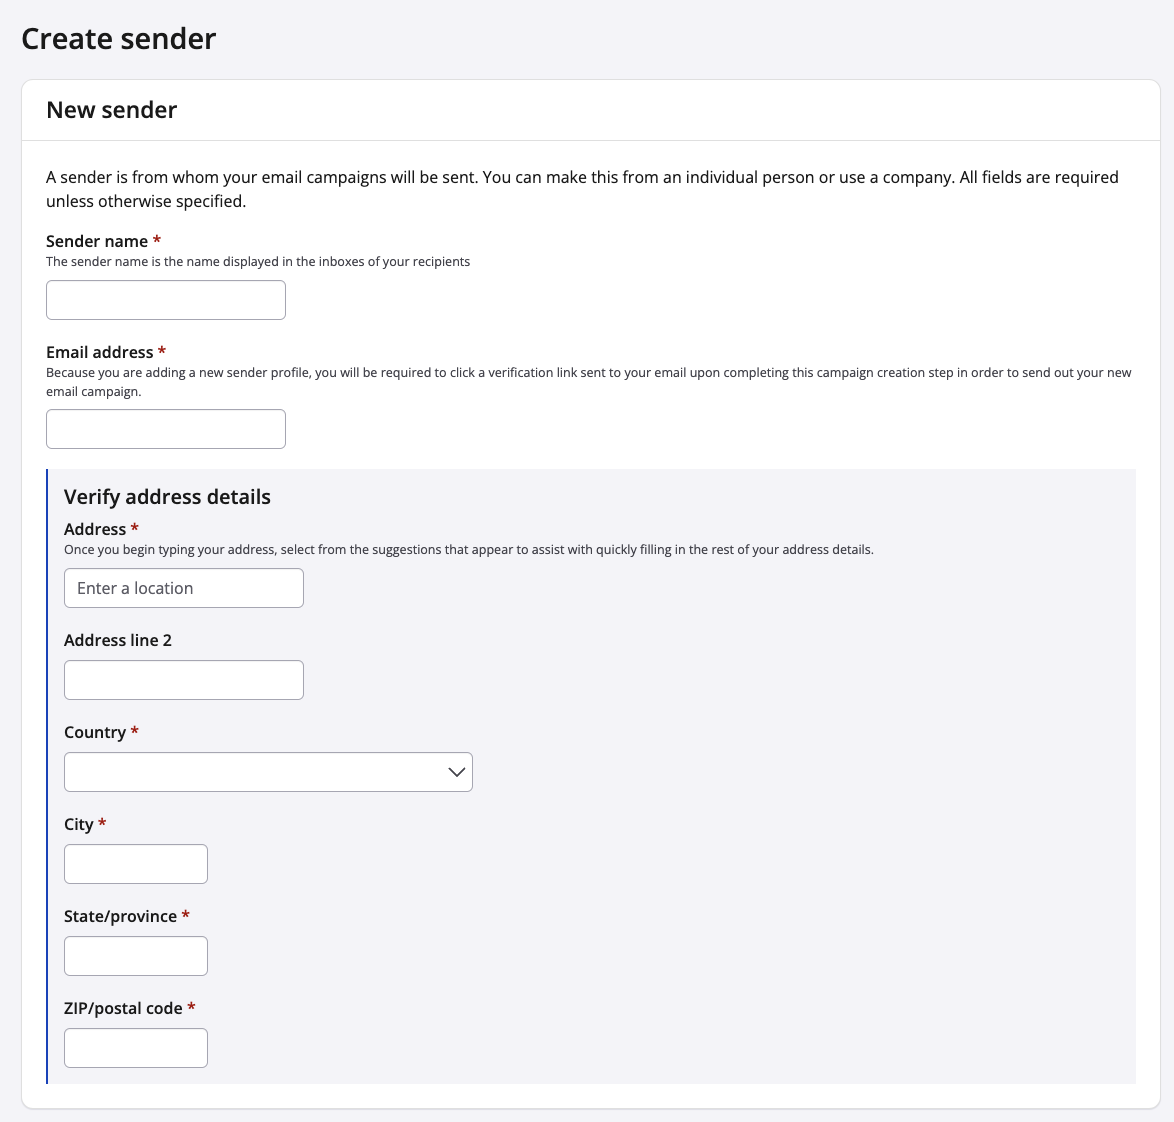
7. Click Save & exit
Step 2
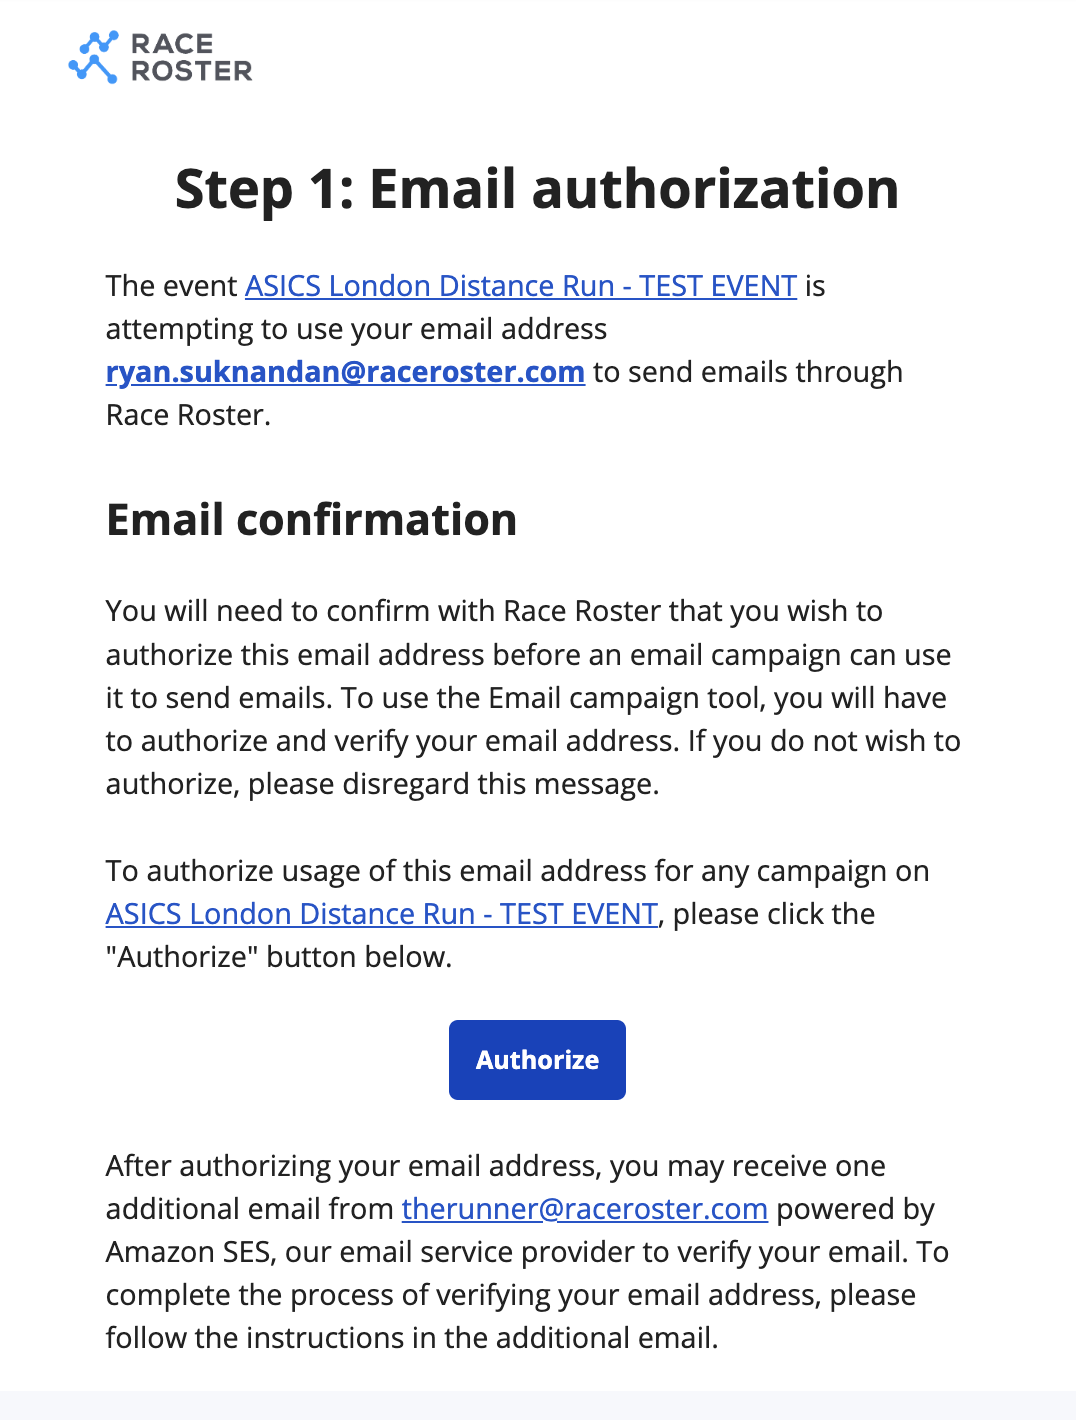
1. Once you add a sender you will receive 2 verification emails - one from Race Roster and one from our Amazon mail server
2. Follow the verification process:
Verification email for Race Roster
You will land on a screen letting you know that the second verification email has been sent

The verification email from Amazon
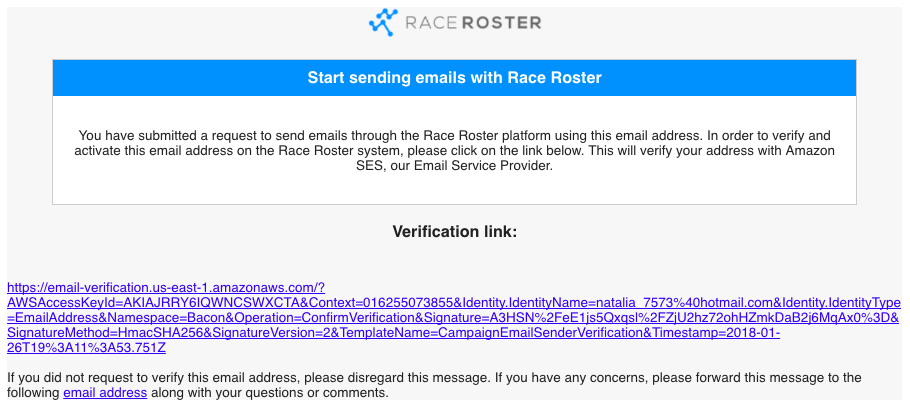
2. Going through the 2 emails will complete the verification process
Note: A sender that has been added and not verified will show up on the list as Not verified