Creating a Thank you message is a great way to share information about the event on the temporary "Thank You" page after the registrant has completed a transaction. By following the steps below, you can create a customizable Thank you message and promoter message for your event.
Step 1 - Add the feature to your event
1. Log into your event dashboard
2. Navigate to the left-hand side and click Settings Overview
3. Scroll down to the Add-ons section and click "add" for the Thank you settings add-on 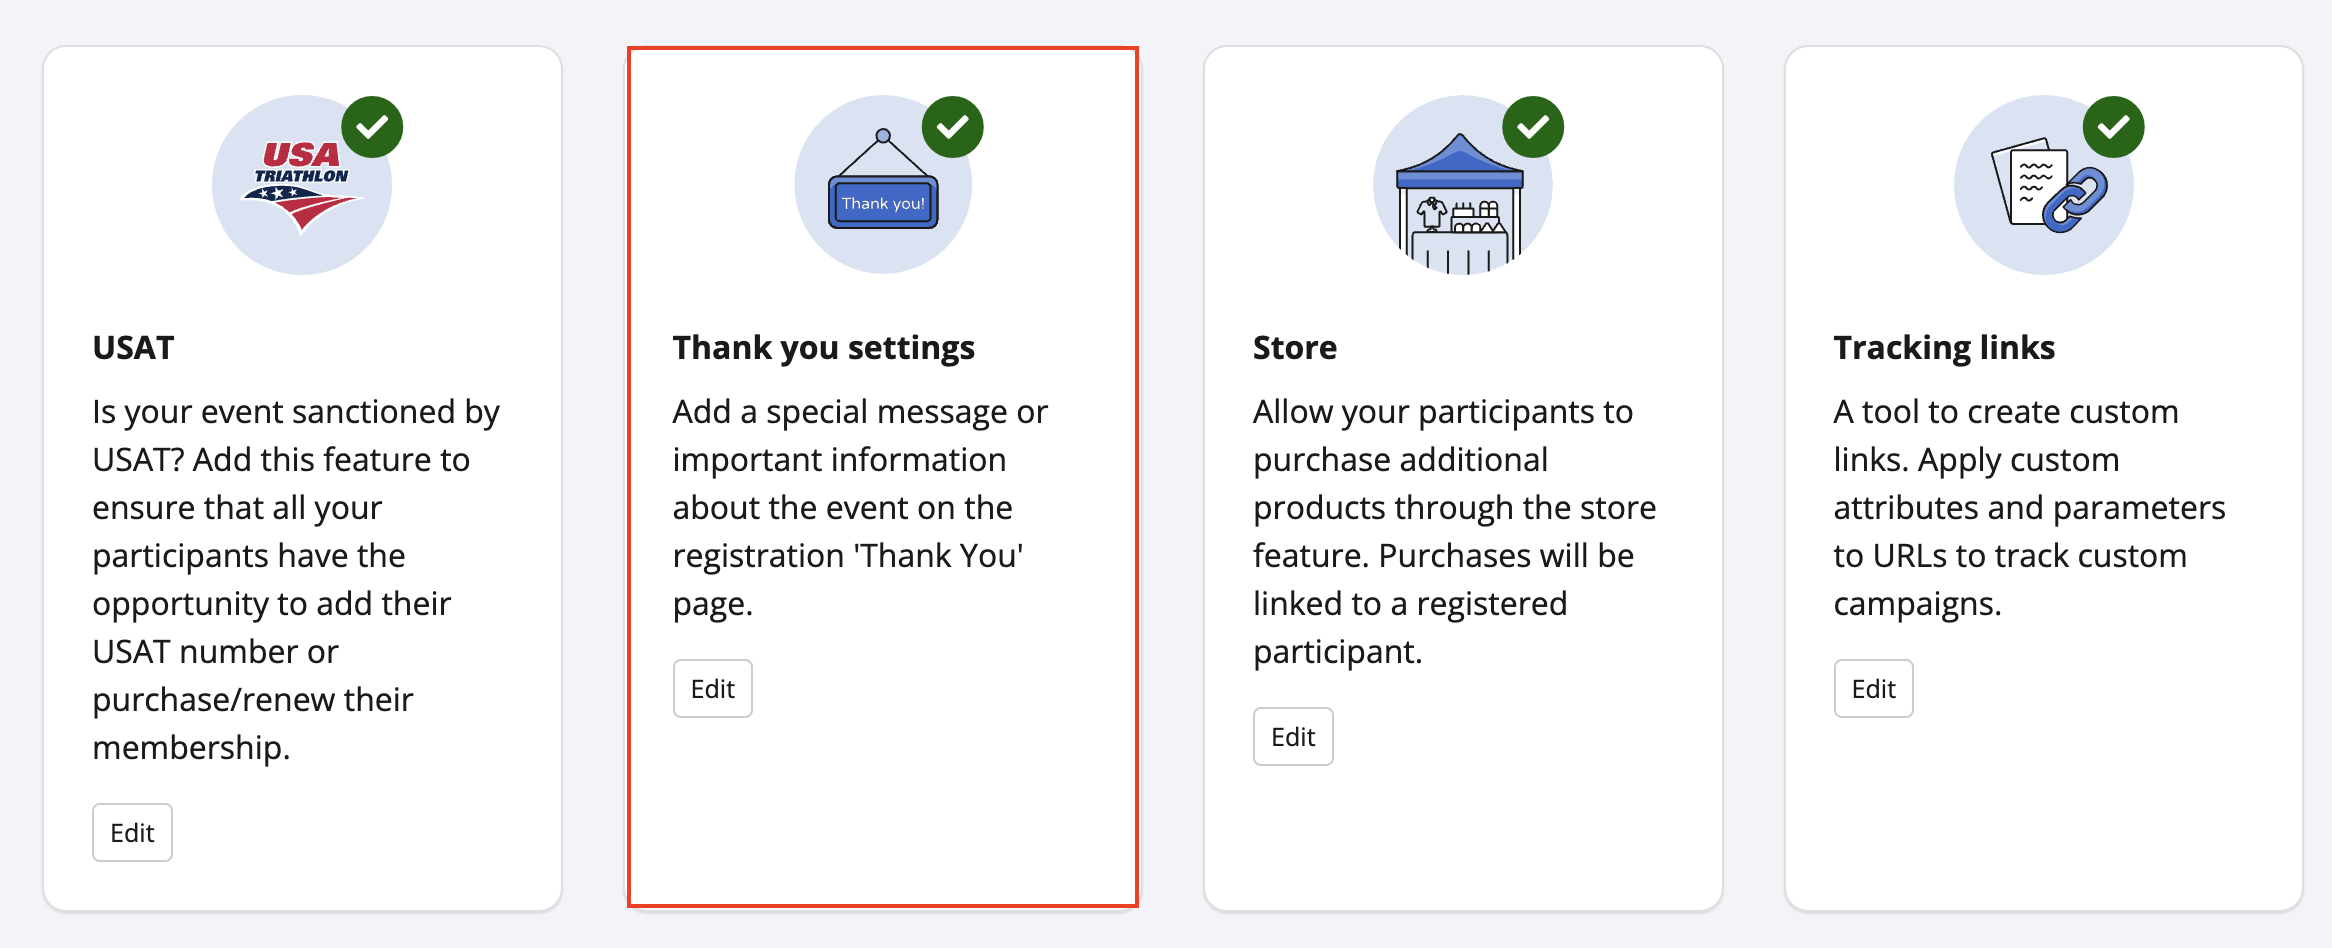
4. Once the Thank you settings feature has been added you will be to create two different messages:
- Thank you message: Your thank you message will appear at the end of the transaction for your participants to see. In this message, you can add additional event information, other significant details, etc.
- Promoter: The promoter section allows you to customize your event's social marketing message and content.
*Please note you will have to have Referral Settings turned on in order to have the Promoter Section enabled
Step 2 - Create message
To create a Thank you message, use the text editor which will allow you to add/edit text, images, videos, links, and any other customization.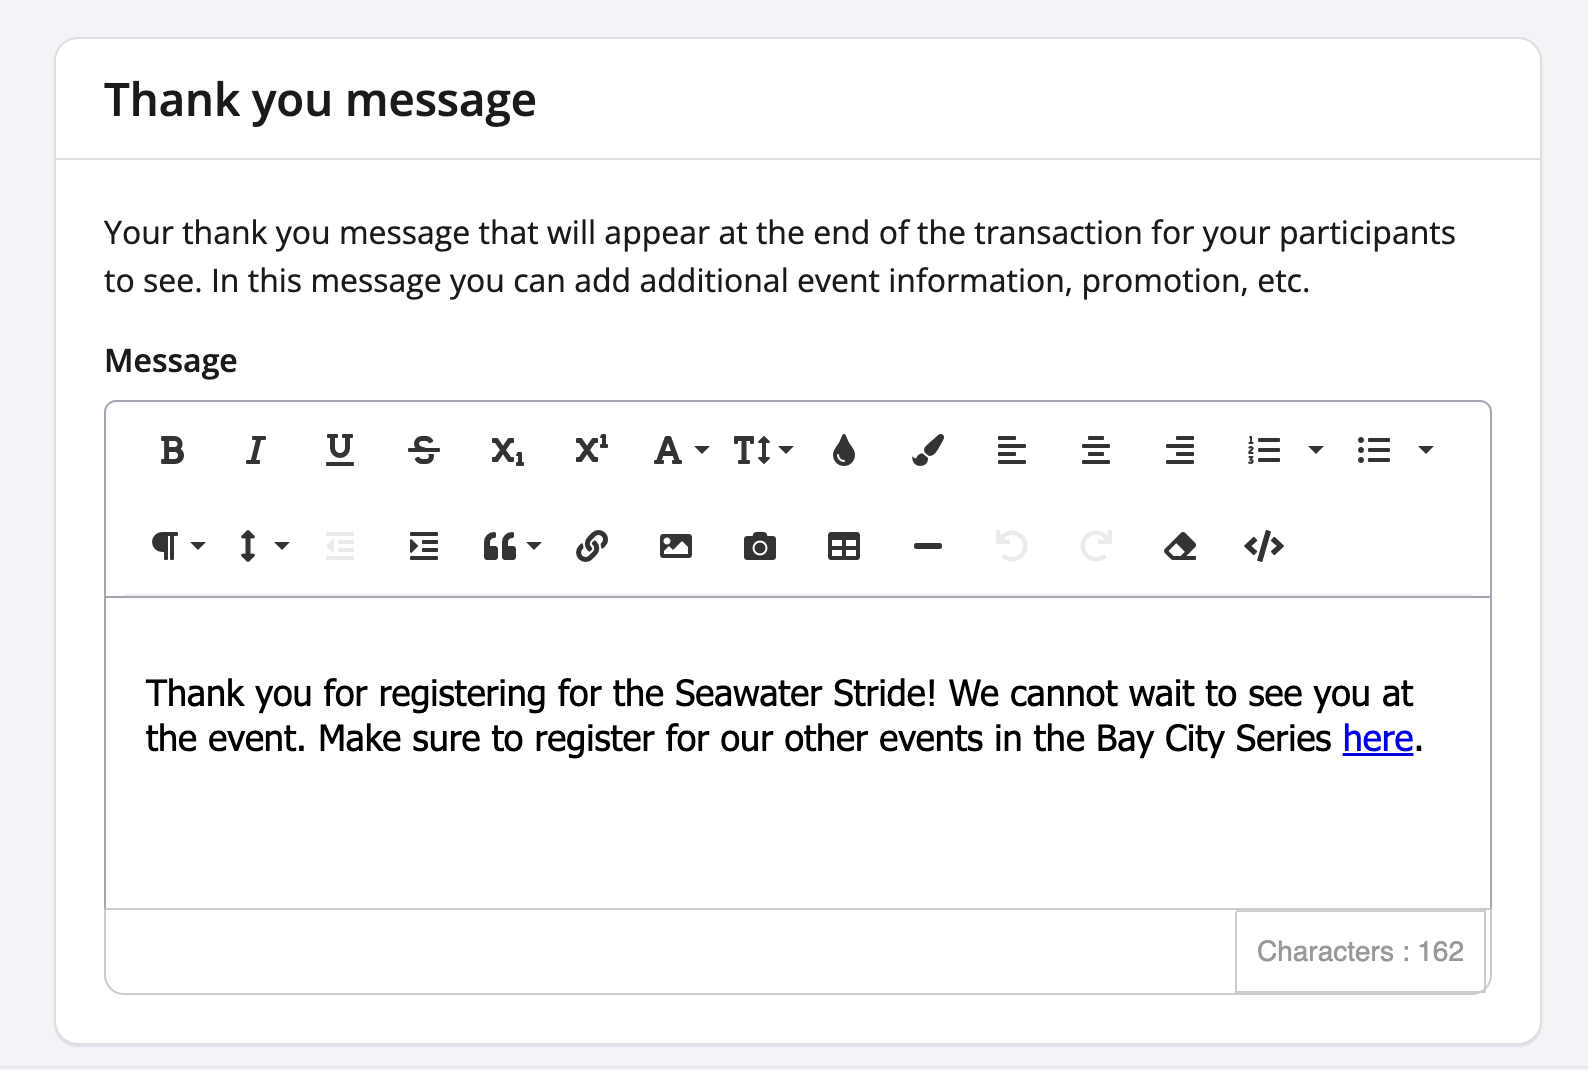
To create a Promoter message:
1. Create a header for your message in the Section header field
2. Add content to Section content section with the text editor which will allow you to add/edit text, images, videos, links, merge tags, and any other customization.
3. Compose a default social message that will appear on different social media platforms once shared.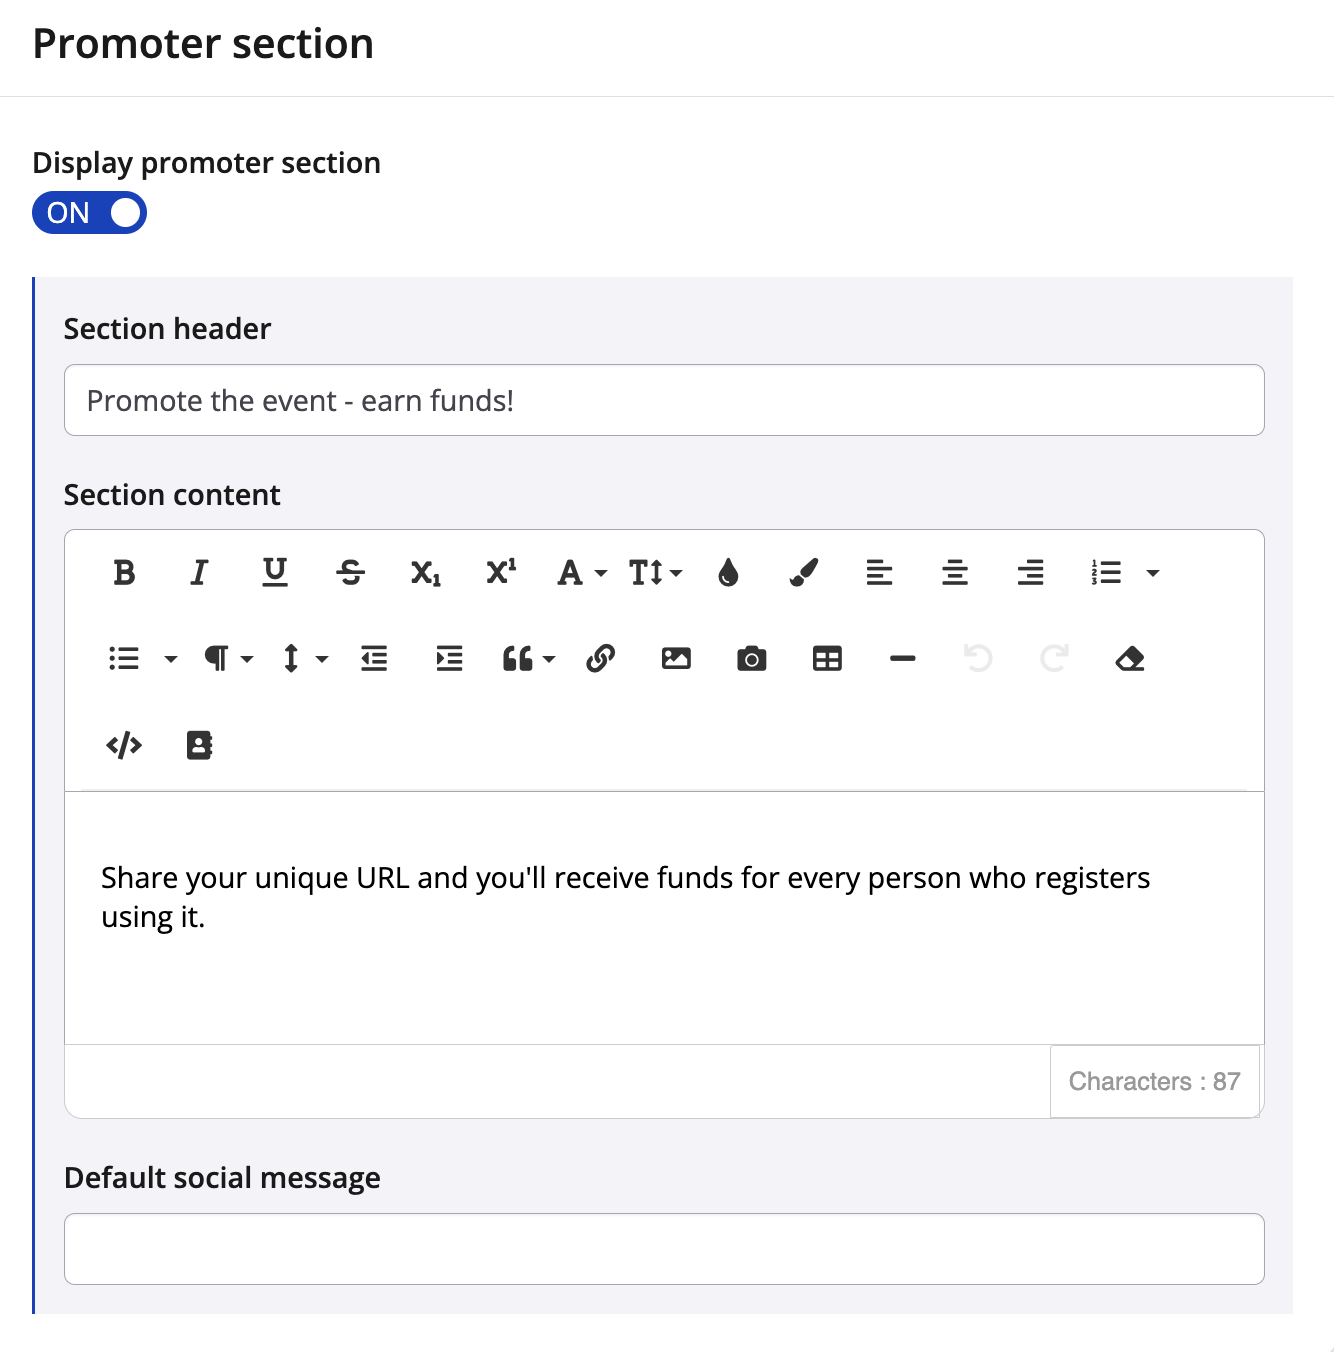
4. Once you have completed and satisfied with your message(s) click "Save & exit".
If you're looking to create a campaign with our Email Campaign tool, please go to our creating an email campaign article.