The photo gallery tool within the Race Roster timer dashboard allows you to create an online space to upload and display images captured on event day. Whether taken by professional photographers recruited by the organizers, or crowd-sourced from participants wanting to share their selfies; whether a small batch showcasing event highlights, or thousands documenting each participant mid-course and in action—creating a photo gallery puts your audience one click away from finding these treasured memories.
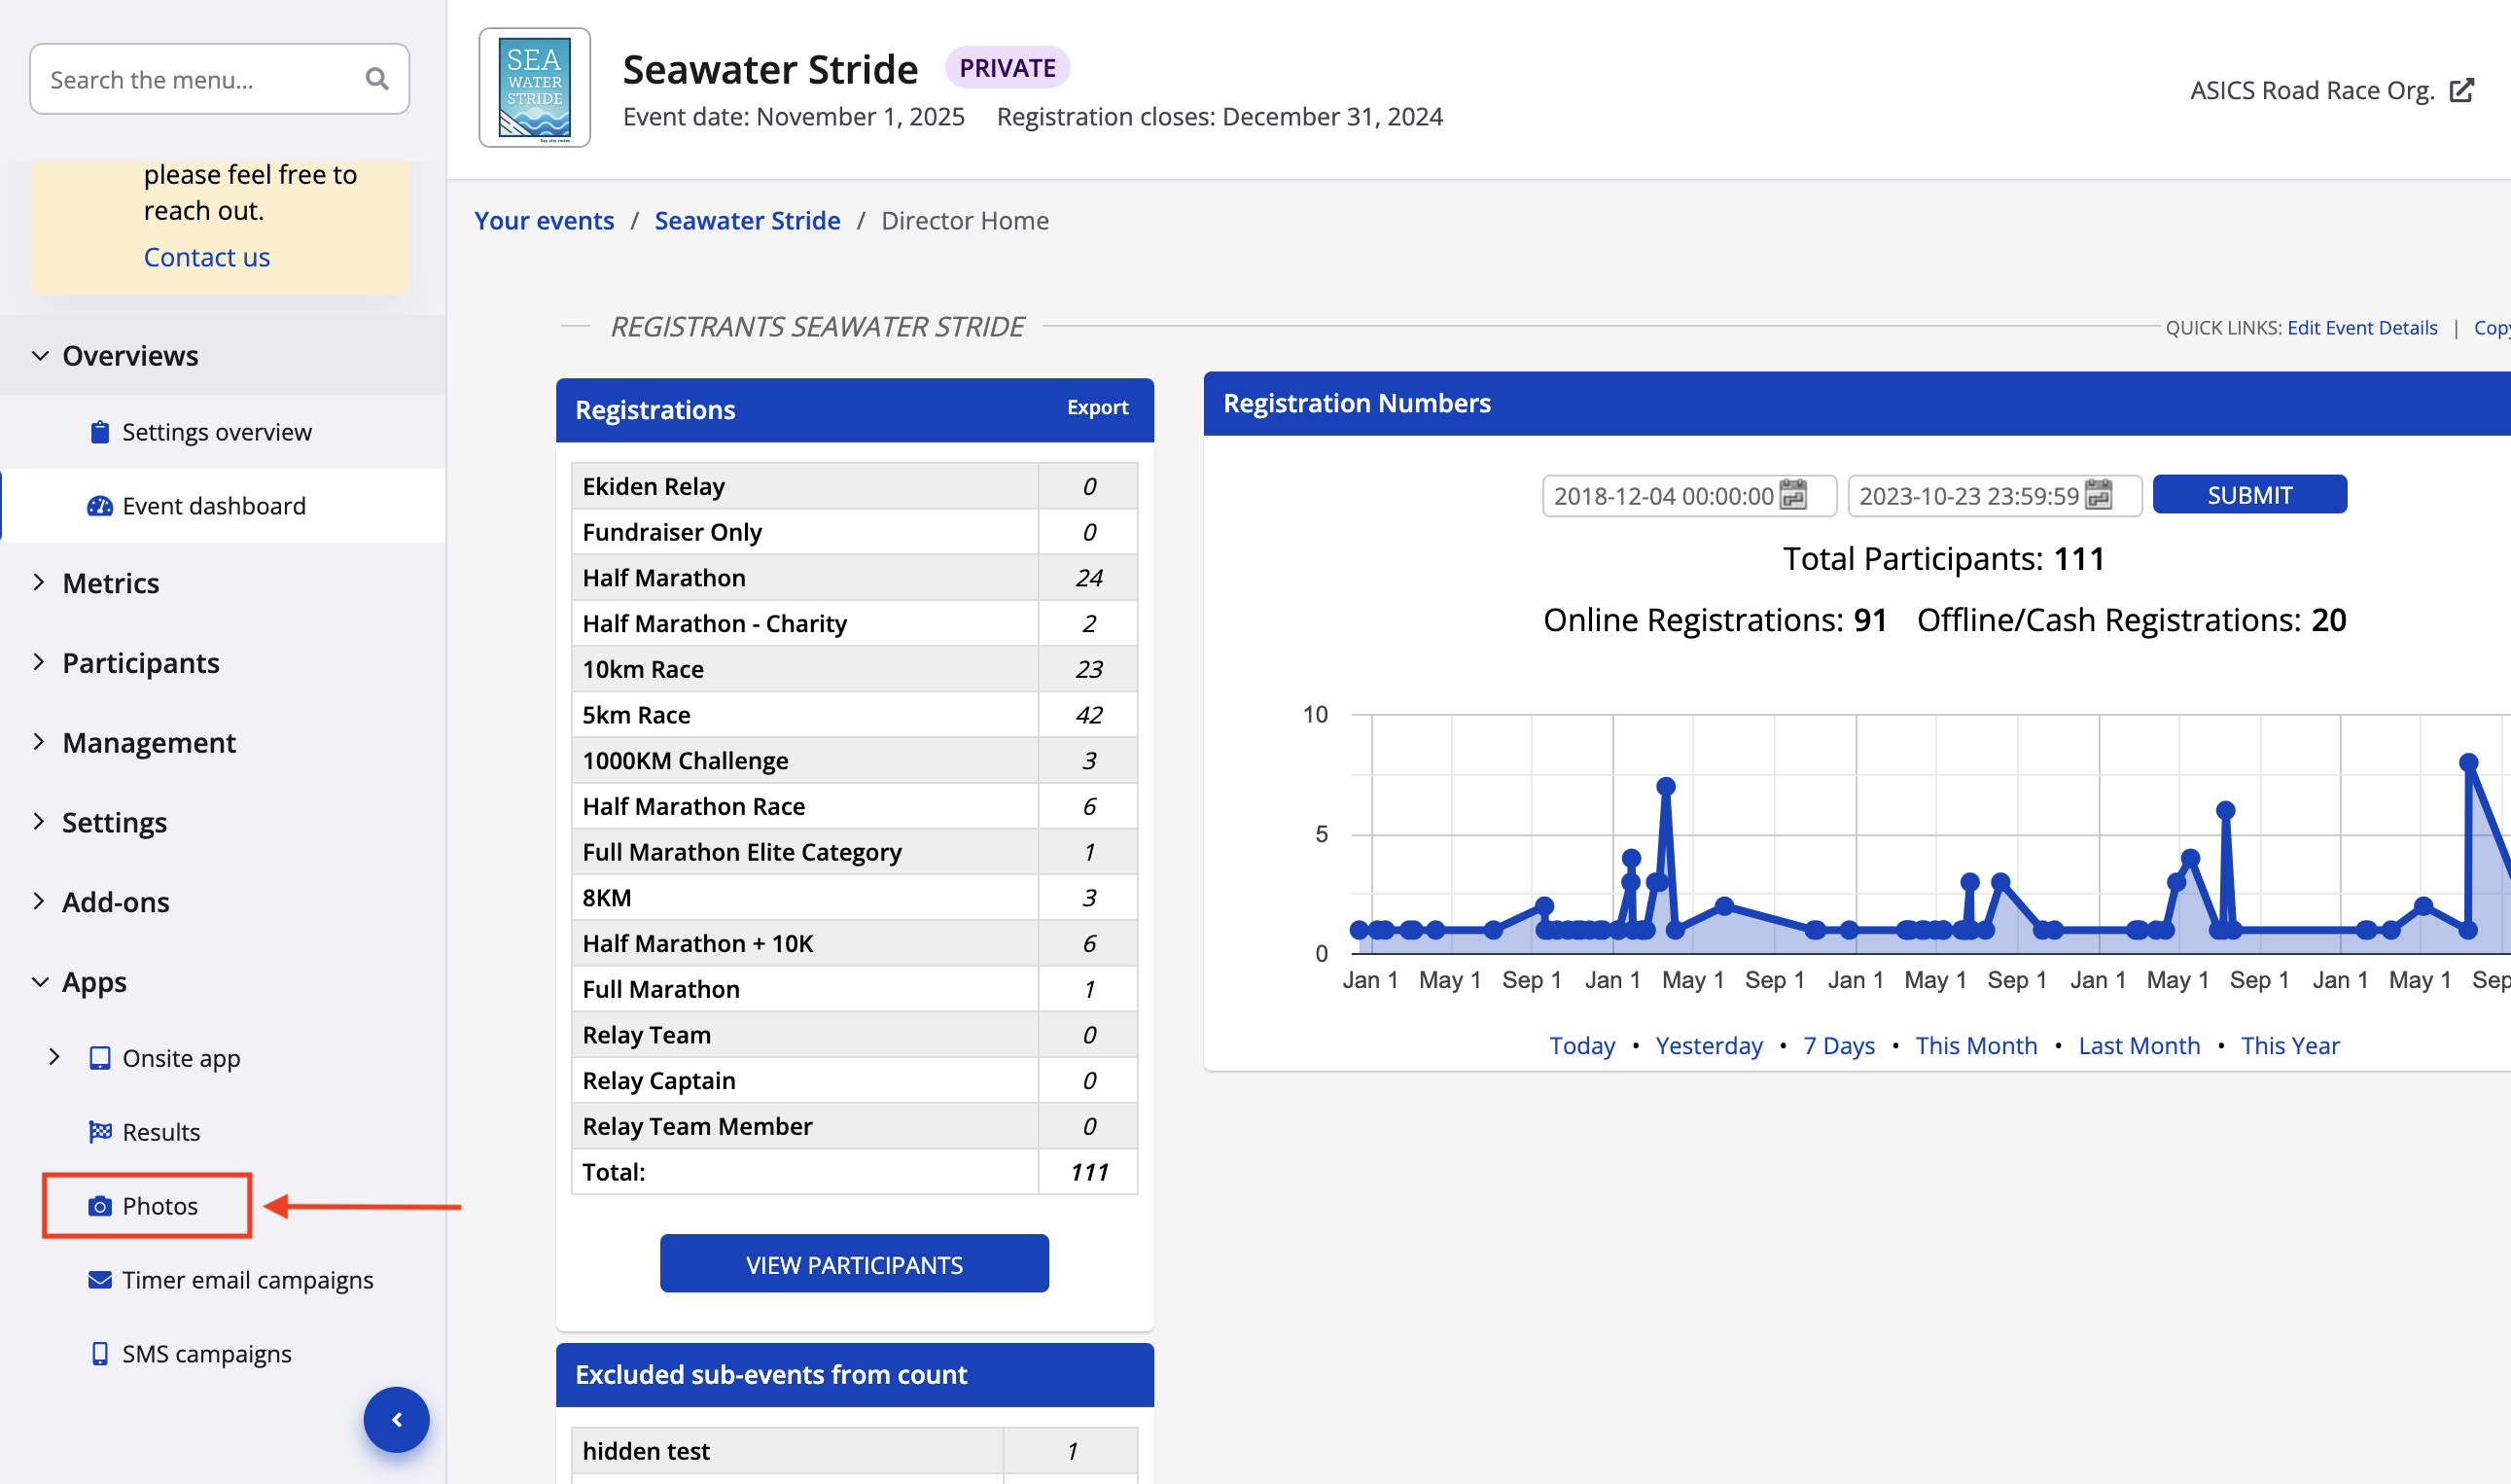
1. From your event dashboard, click on Apps -> Photos from the lefthand side menu.
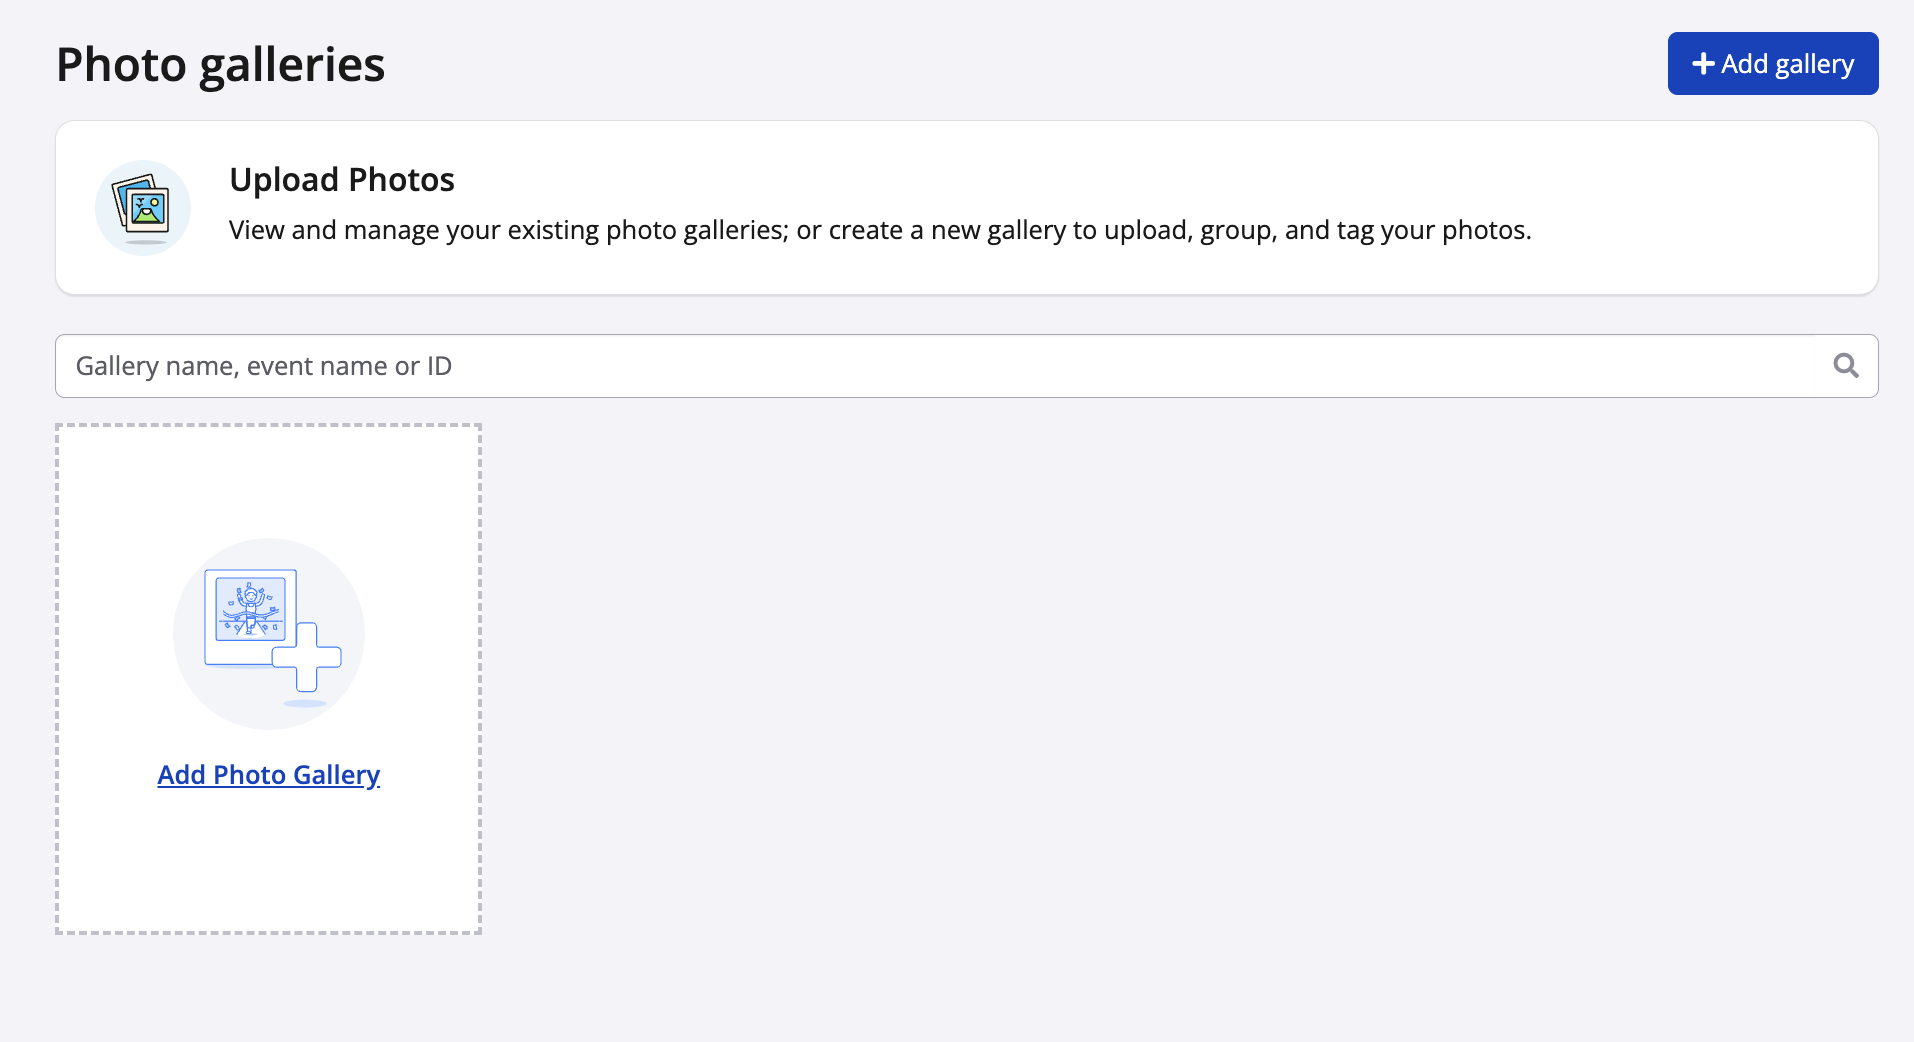
2. Click the blue "+ Add gallery" button to begin the process.
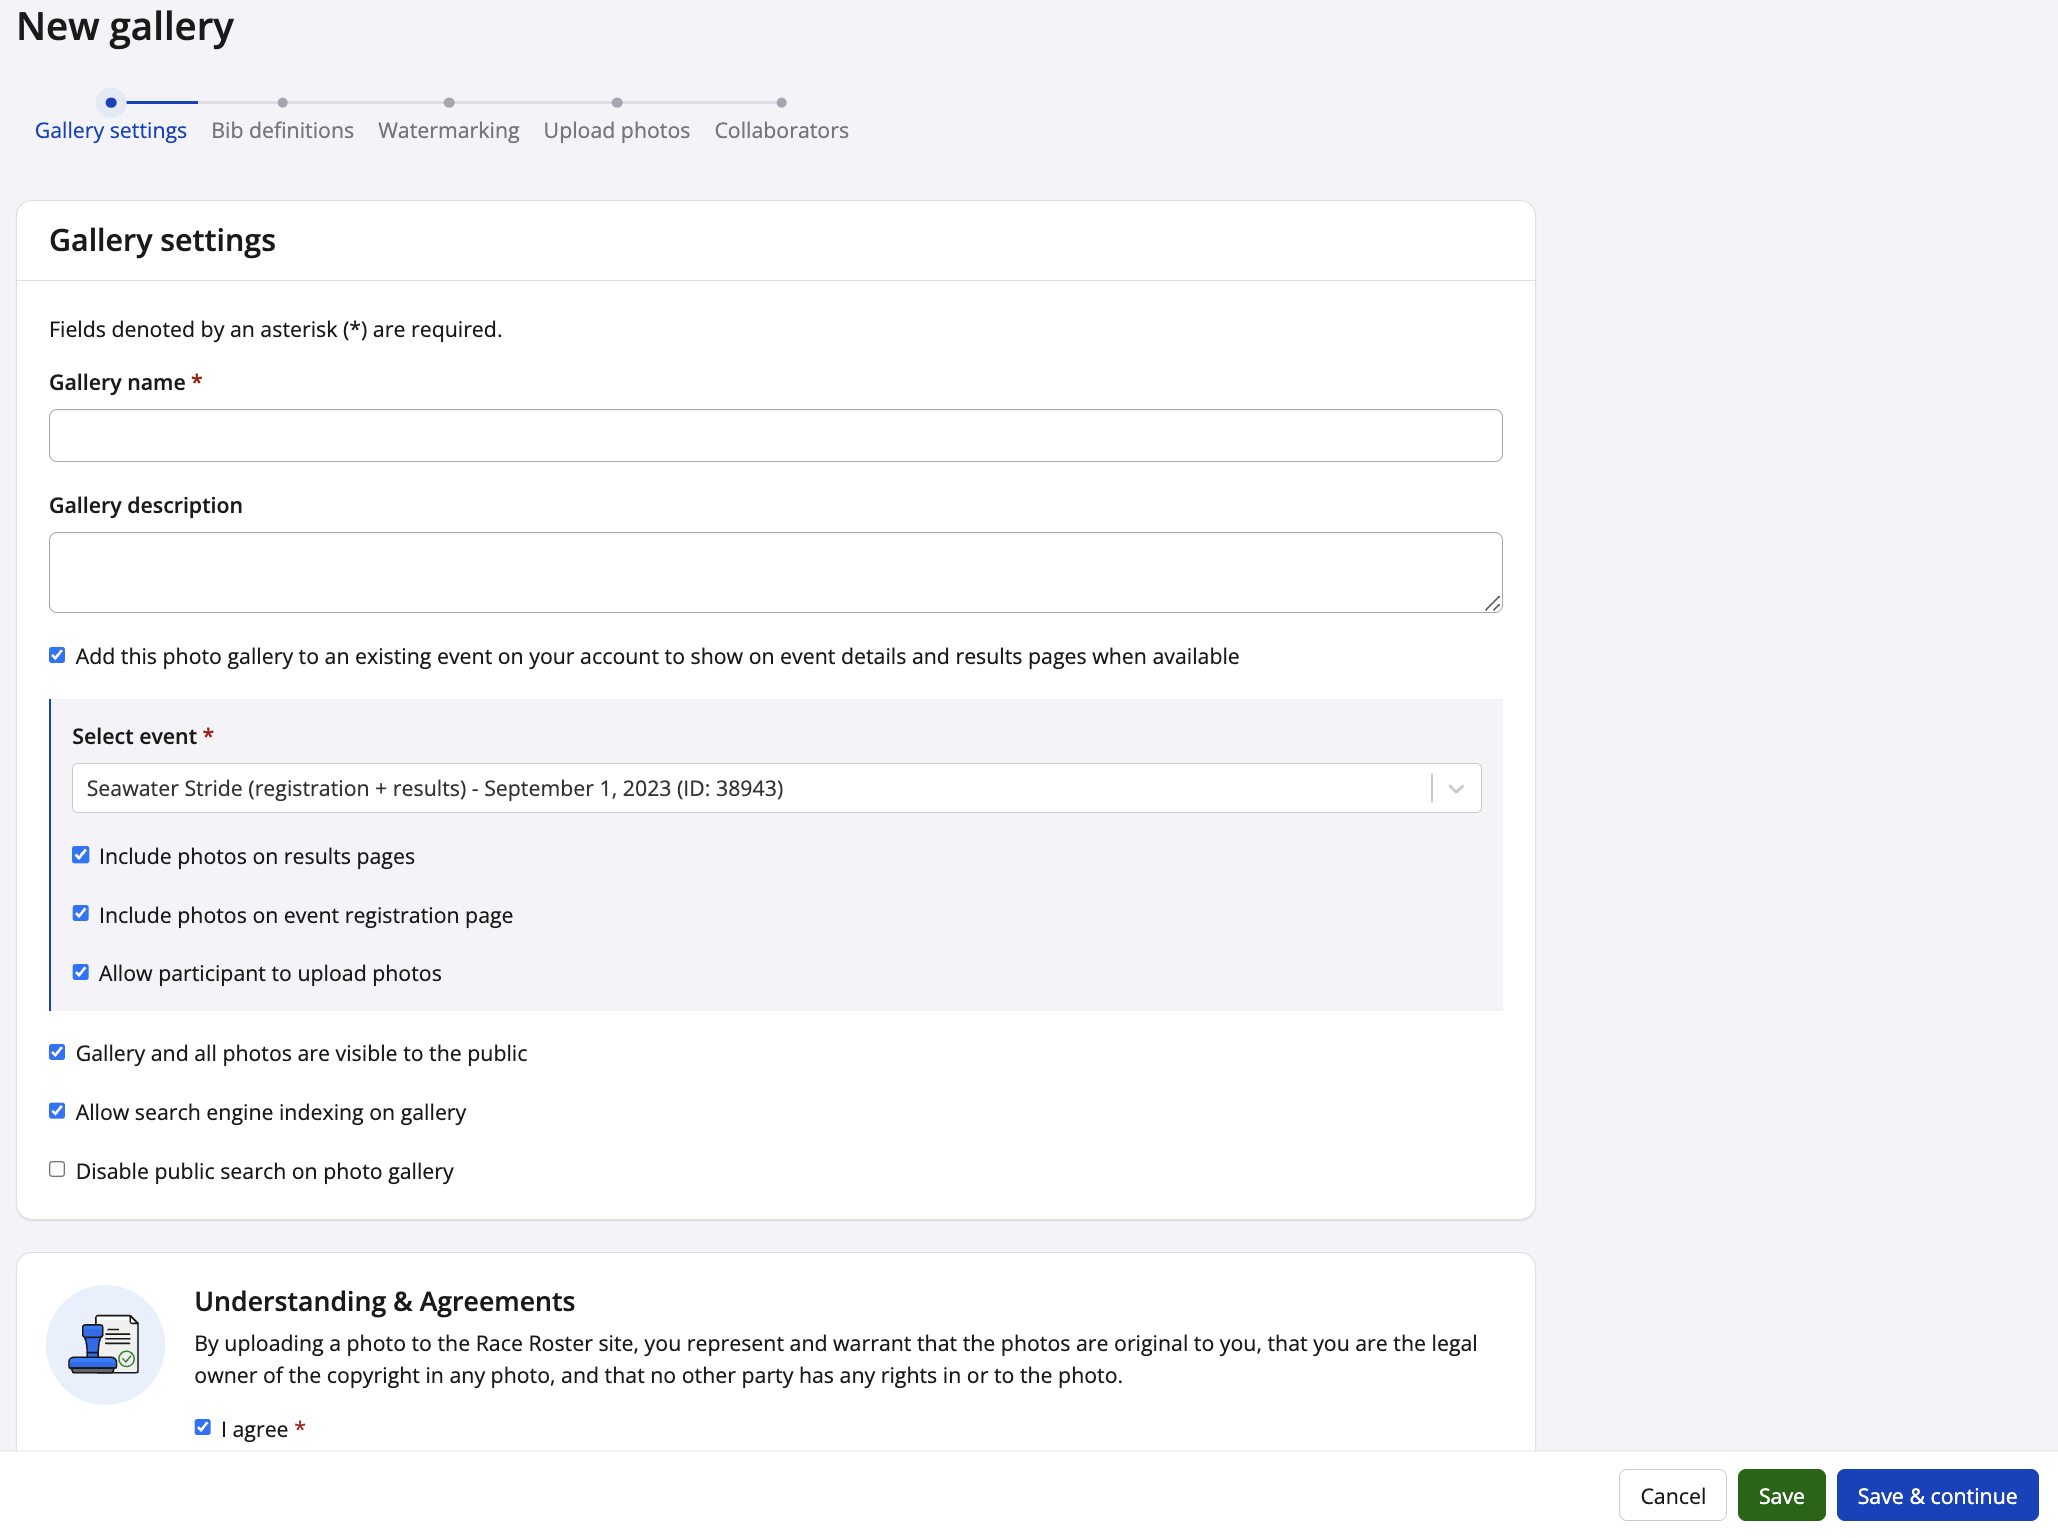
3. In the Gallery settings step, fill out the following fields:
- Gallery name - Give your gallery an appropriate title (e.g., "ASICS International Marathon 2025 Official Photos").
- Gallery description (optional) - You may wish to add a description to specify on dates and locations, credit photographers, or provide other information about the photo gallery.
- Add this photo gallery to an existing event on your account to show on event details and results pages when available - Use the checkbox to enable associating this gallery with an event to which your Race Roster account has staff access. After selecting an event, you will also be presented with three additional options to enable or leave disabled:
-
- Include photos on results pages - If enabled, the "Photos" tab will be visible on the event's results pages
- Include photos on event registration page - If enabled, the "Photo gallery" link will be visible on the event details page
- Allow participants to upload photos - If enabled, photos may be uploaded by signed-in participants and added to the gallery
-
Note: an event can only be associated to a single gallery, and the event must be in status live or private. If you are have staff access to a specific EID but cannot add it to the gallery you're trying to create, it's likely that another user has already created a gallery, or that you haven't taken your event through the go-live process.
- Gallery and all photos are visible to the public - In order to make these photos public, this field must be checked off. To hide the gallery (for example, while setting it up or months later to take it down), uncheck the box.
- Allow search engine indexing on gallery - To allow your photo gallery and its contents to be searchable on Google and other public Internet search engines, this field must be checked off.
- Disable public search on photo gallery - To disable the search bar on the gallery, hides photos from being publicly searchable
Users must also check off that they agree to our Understanding & Agreements section at the bottom of the page.
Once you're satisfied with your settings, click the blue "Save & continue" button.
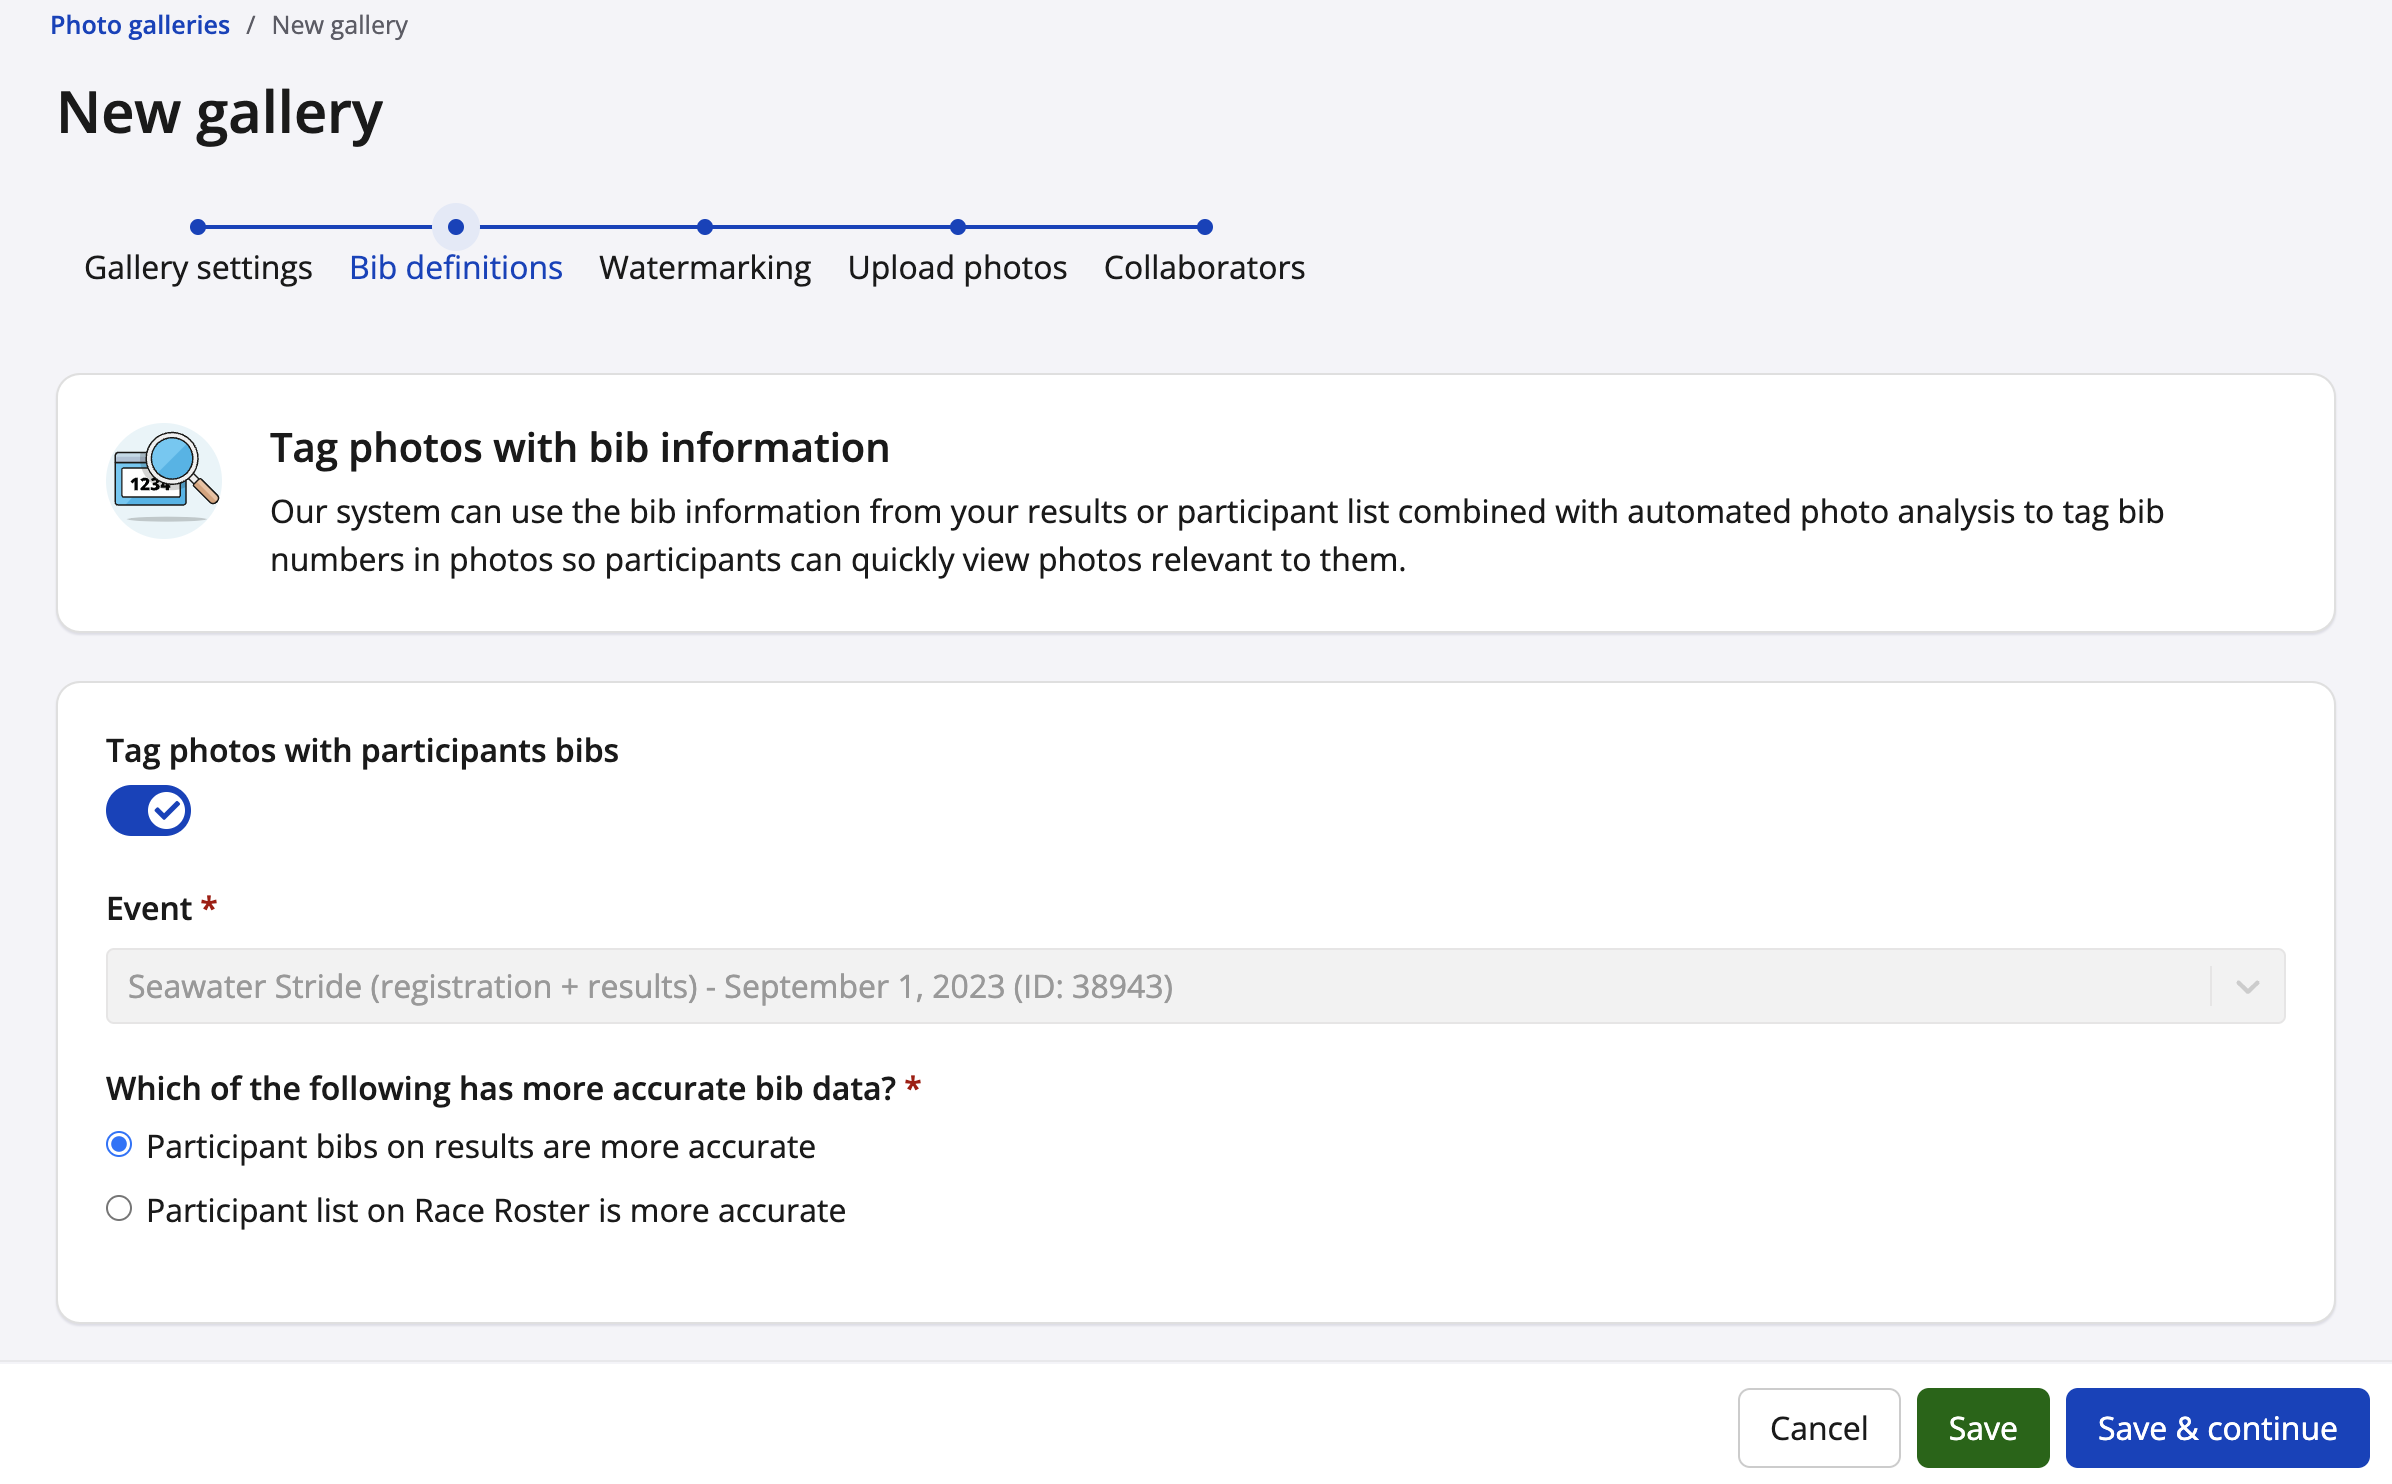
4. In the Bib definitions step, you will have the option to tag bibs. By selecting "Tag photos with participant bibs" our system will use the bib information from your results or participant list, to match bib numbers found in the photos to a participant. We use an automated photo analyst to find bib numbers in the photos. Once something is found, our system will automatically tag the photo with that bib number so participants can quickly view their photos.
Once you're satisfied with your settings, click the blue "Save & continue" button.
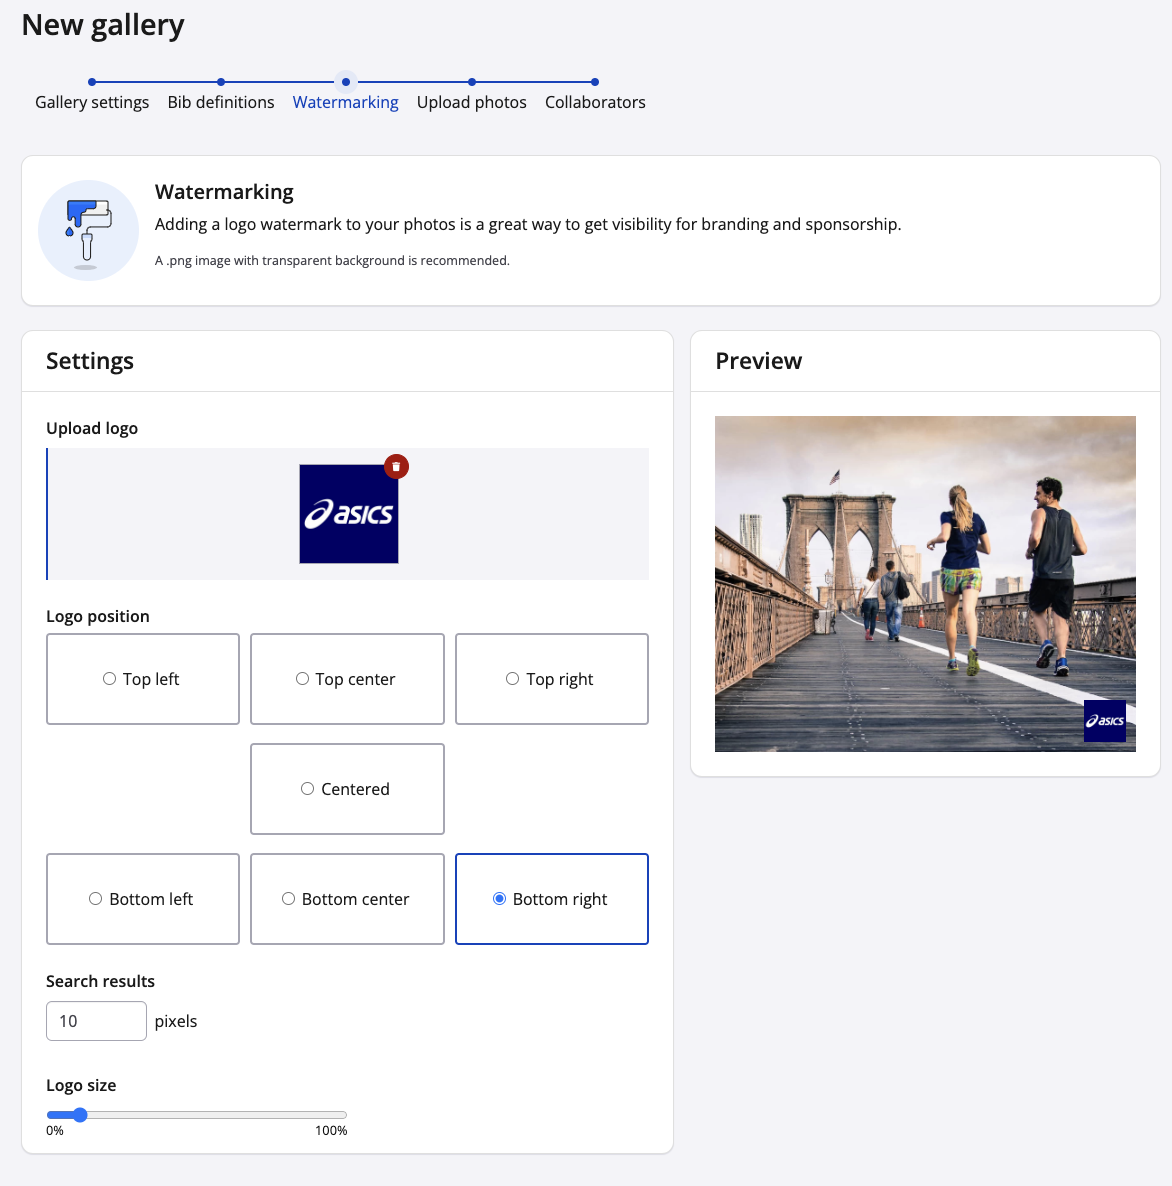
5. In the Watermarking step, you will have the option to upload a logo to your photos. With the many tools such as position and logo size, you can decide where on the photo you want your logo to live.
Once you're satisfied with the settings, click the blue "Save & continue" button.
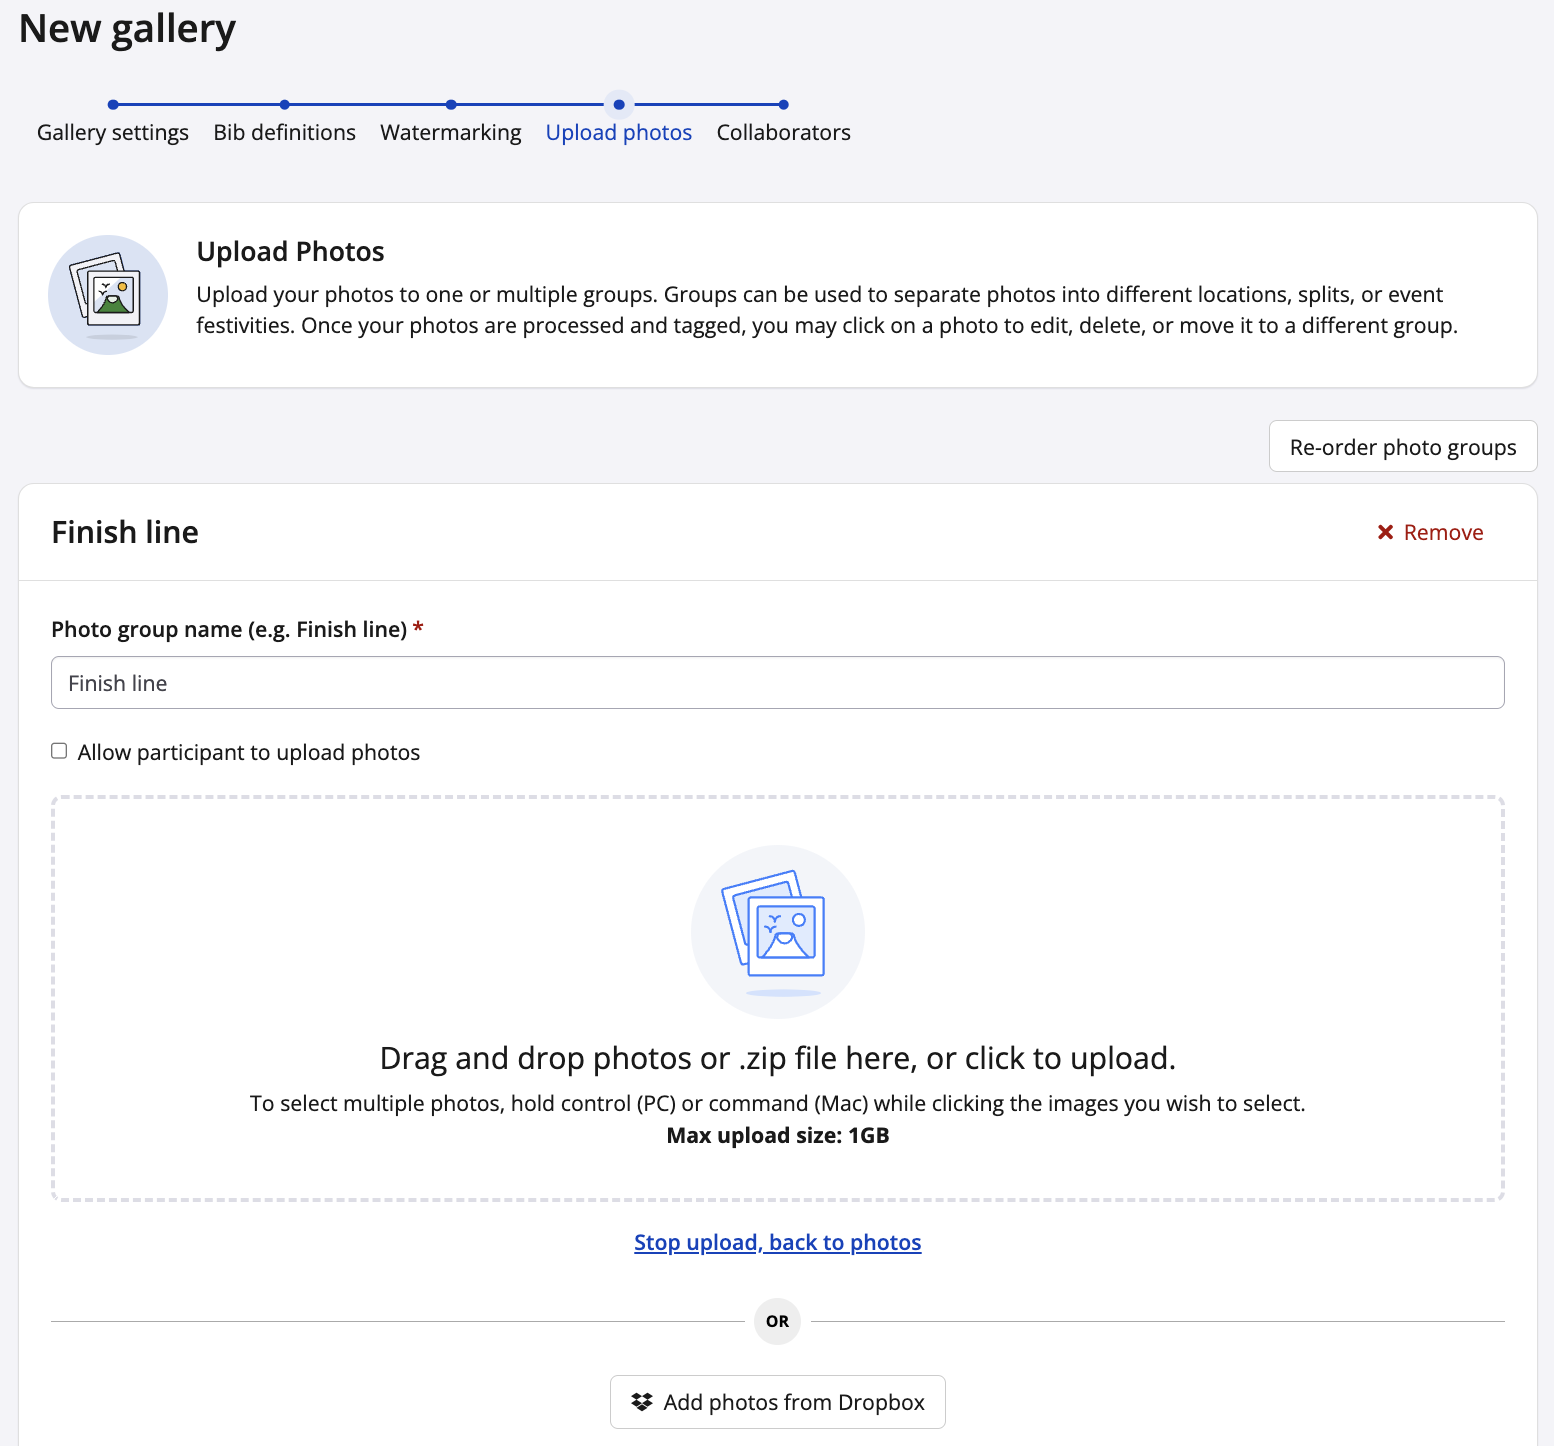
6. In the Upload photos step, click add photo group, name the group, click create, then drag and drop your photos or zip file to the uploader. You can also click the uploader and select photos or zip files from your device.
To allow participants to upload photos check off the allow participant to upload photos field.
Once you're satisfied with your settings, click the blue "Save & continue" button.
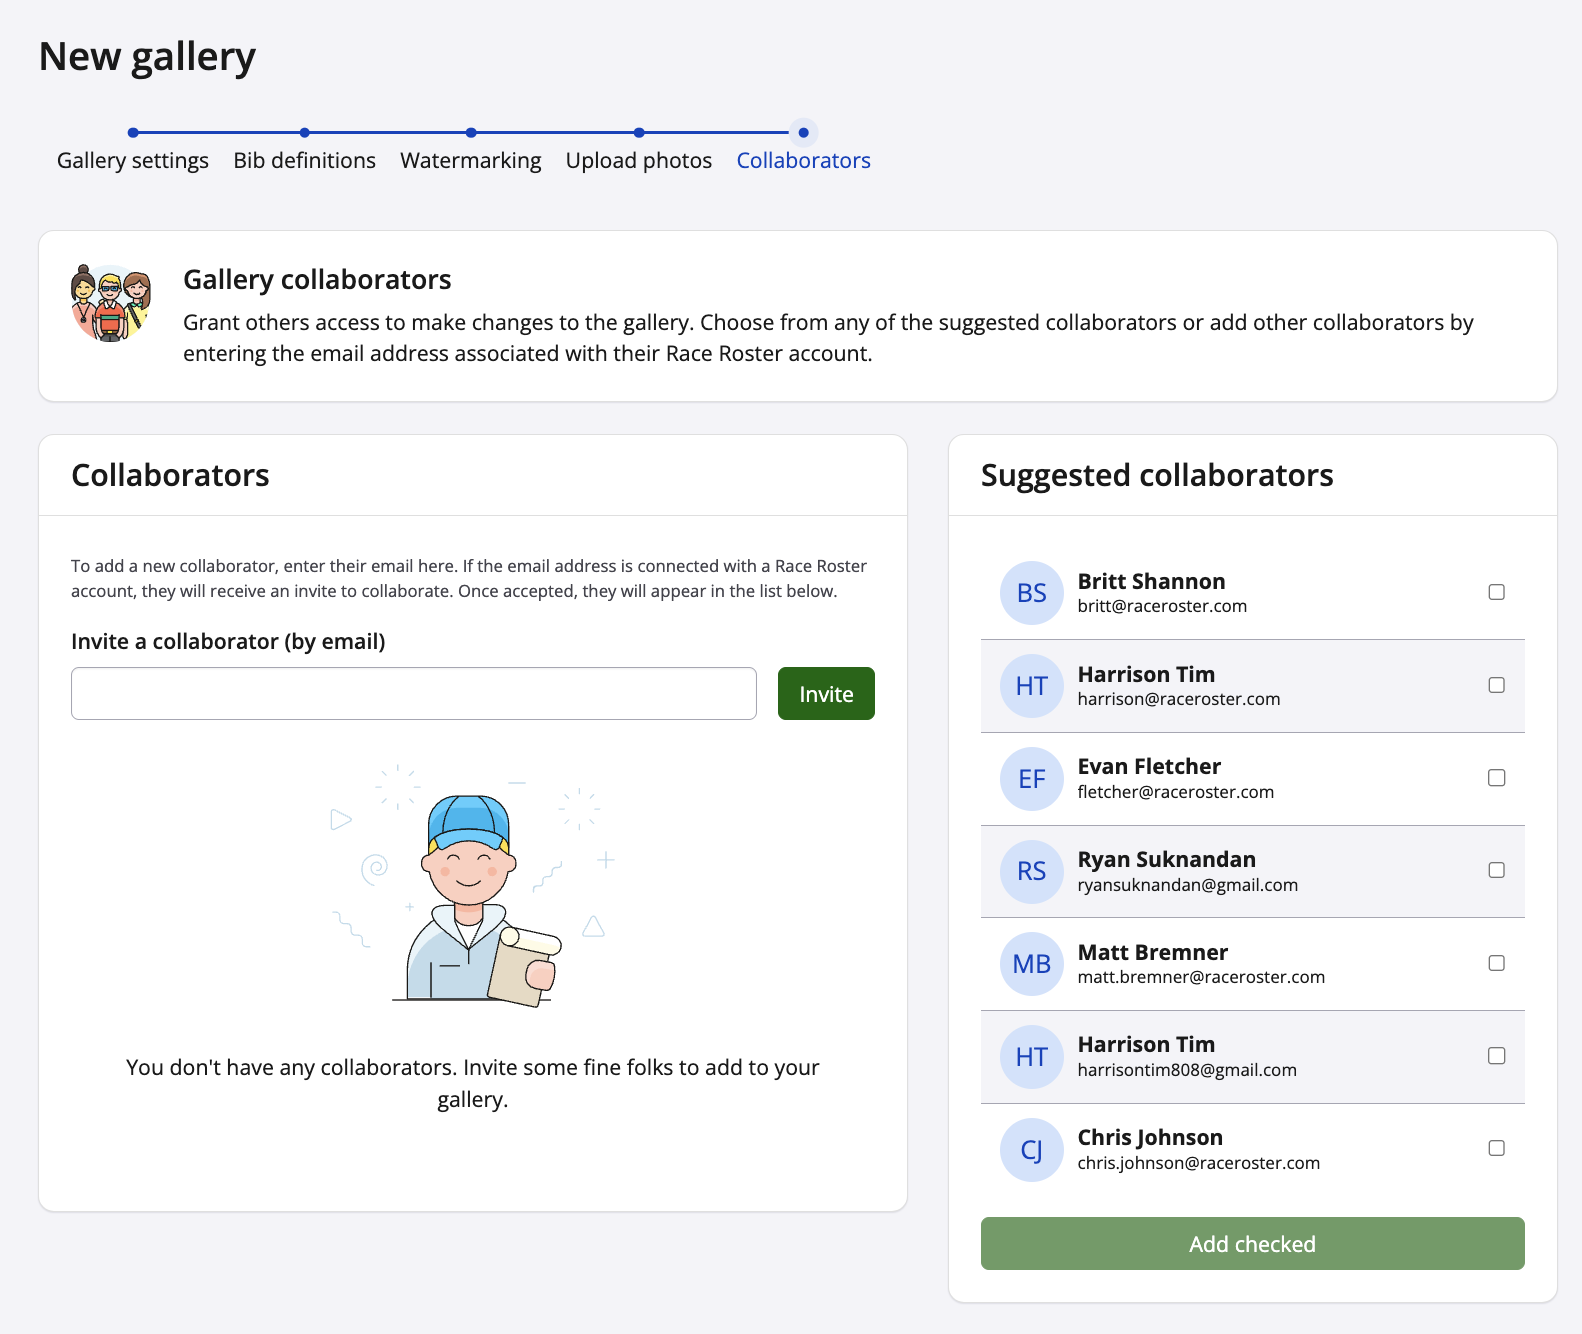
7. The final Collaborators step, you're given the option to invite collaborators to your gallery. Collaborators are Race Roster user account owners who are able to make changes to the gallery. Enter the email address of the user who you wish to add as a collaborator, or select one of the suggested collaborators from the righthand side of the page.
Once you're done, click Create gallery, and navigate to your event page and/or results page to see how the gallery looks!
Additional information
- Upload batches through our web browser uploader have a maximum size of 1 GB.
- You may upload 1 GB batches as many times as you'd like.
- For a faster photo upload process, please consider using a third party File Transfer Protocol (FTP) and our Stream Connect tool. Learn more here .
If you have any questions about creating a photo gallery, please contact us at director@raceroster.com (or director@raceroster.com.au).